Plasma Cutting is widely used in many industries. The method that used to melt and expel material from the cut has made things simpler for all sorts of metal fabrication projects. Plasma torches are low-maintenance, rarely requiring replacement.
Plasma Cutting provides high versatility that the cutter itself can be miniaturized to the point of being a handheld device and can be easily transferred between worksites which this is completely time-saving. Therefore, it is absolutely easy for new employees to learn how to use a plasma cutting torch. They will be able to grasp the skills quickly and efficiently.

From setup to technique, there are 6 basics Plasma Cutting tips best practices that will help you improve plasma cutting results, increase your efficiency, and SAVE TIME and MONEY!
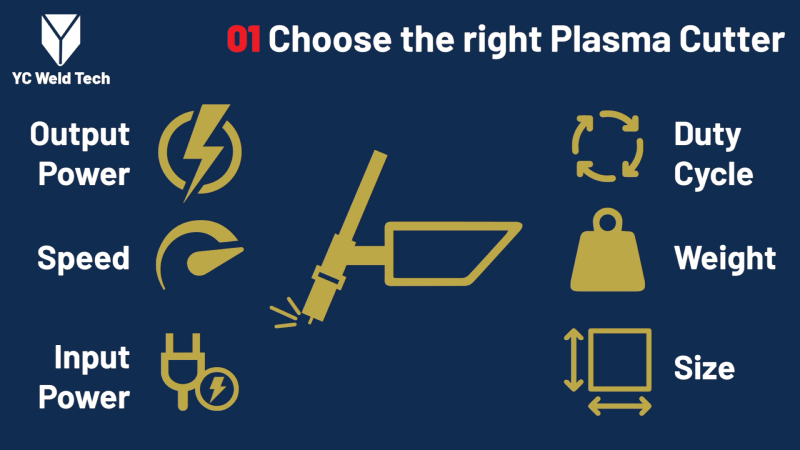
Tips 01: Choose the right Plasma Cutter
Output power, Speed, Input power, Duty cycle, Weight, Size.
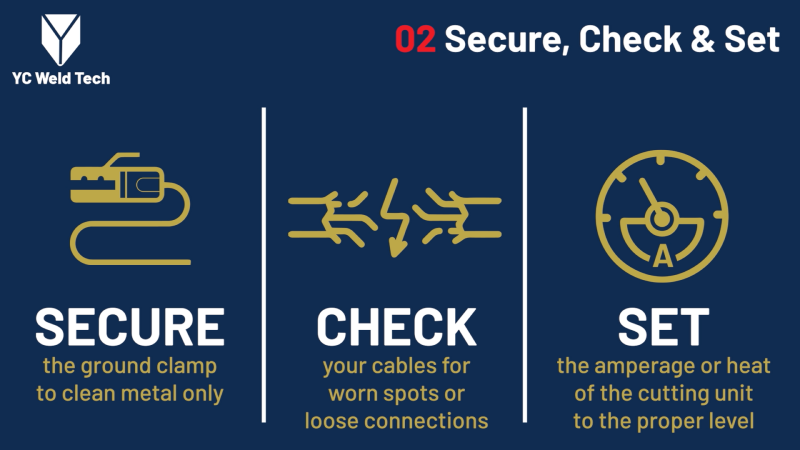
Tips 02: Secure, Check & Set
Secure the ground clamp to clean metal only. Check your cables for worn spots or loose connections. Set the amperage or heat of the cutting unit to the proper level.
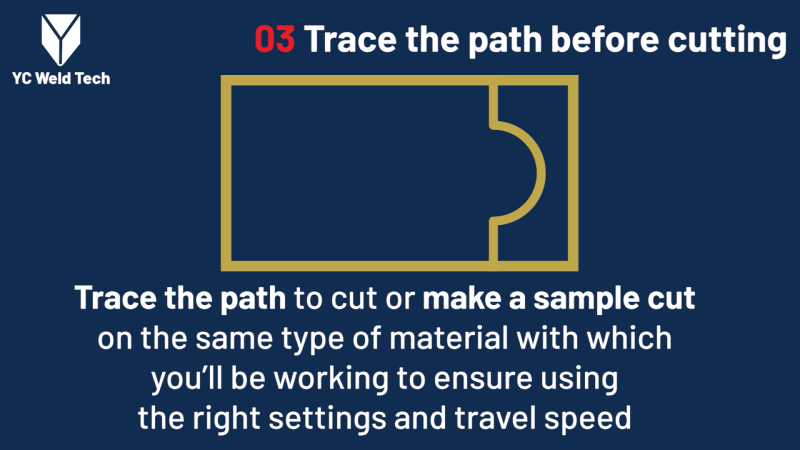
Tips 03: Trace the path before cutting
Trace the path to cut or make a sample cut on the same type of material with which you will be working to ensure using the right settings and travel speed.
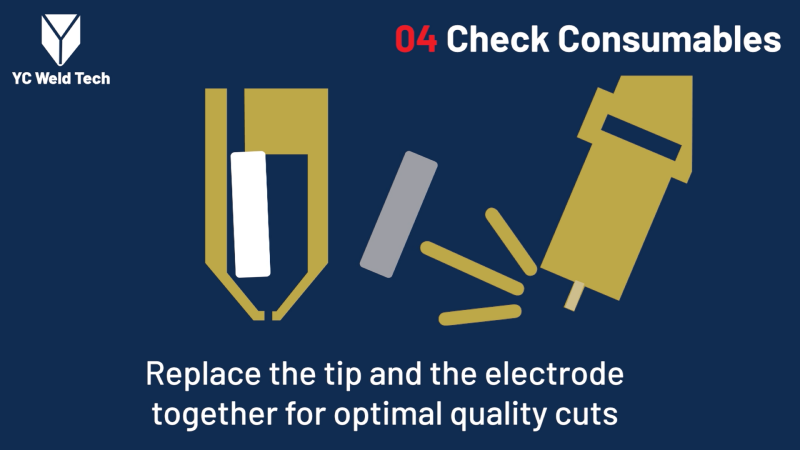
Tips 04: Check Consumables
Replace the tip and the electrode together for optimal quality cuts.
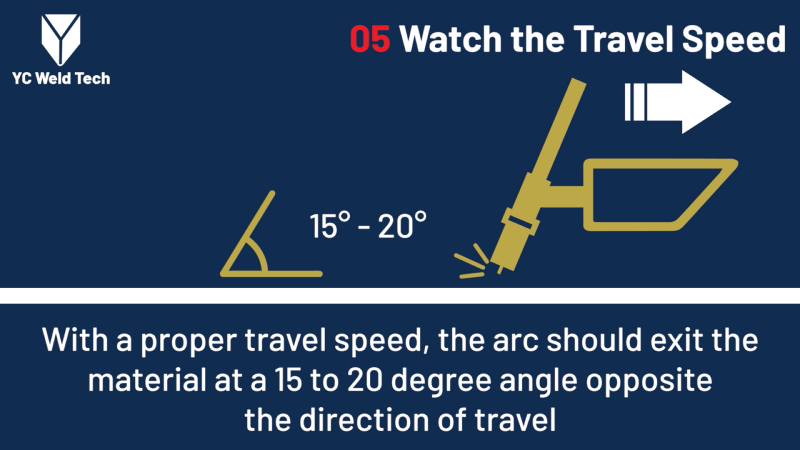
Tips 05: Watch the Travel Speed
The faster your travel speed (especially on aluminum), the cleaner your cut will be. With a proper travel speed, the arc should exit the material at a 15 to 20 degree angle opposite the direction of travel.
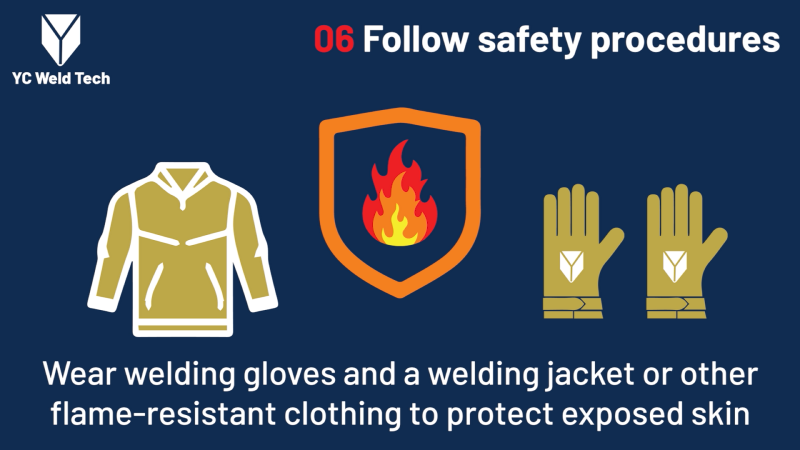
Tips 06: Follow Safety Procedures
Shield your eyes with the proper shade lens and wear welding helmet is compulsory. Wear welding gloves and a welding jacket or other flame-resistant clothing to protect exposed skin.





Leave A Comment
You must be logged in to post a comment.